What are Assembly Groups
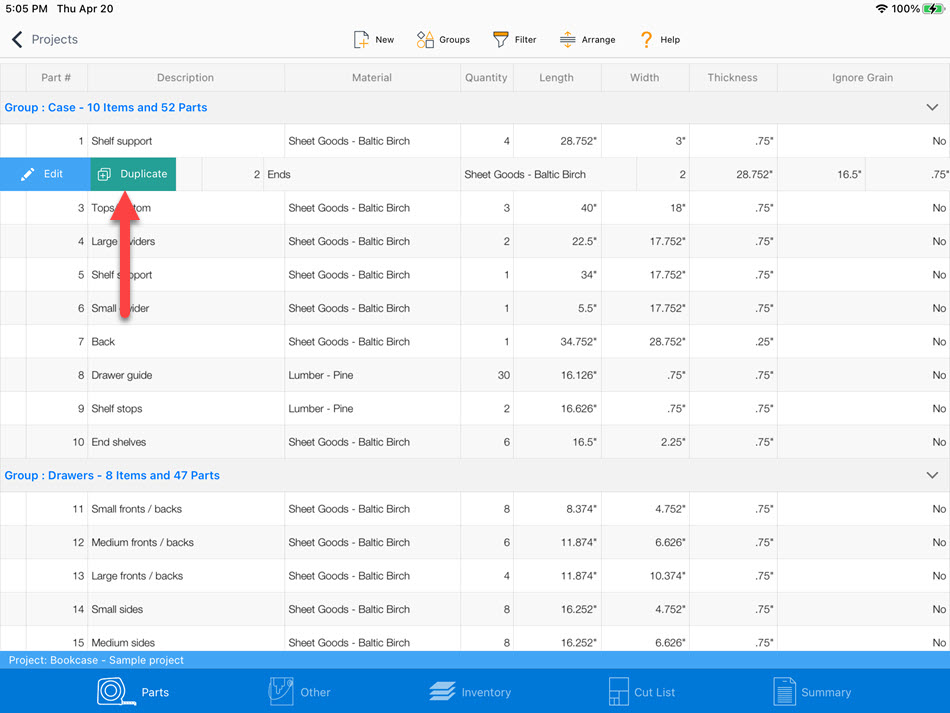
When you have a project comprised of several parts, just the part's name may not give you a good indication of where or how the piece is used. For example, assume we have a bookcase that contains 76 parts. Which parts are for the frame? Which are for the drawers? How about the doors? This is where Assembly Groups help.
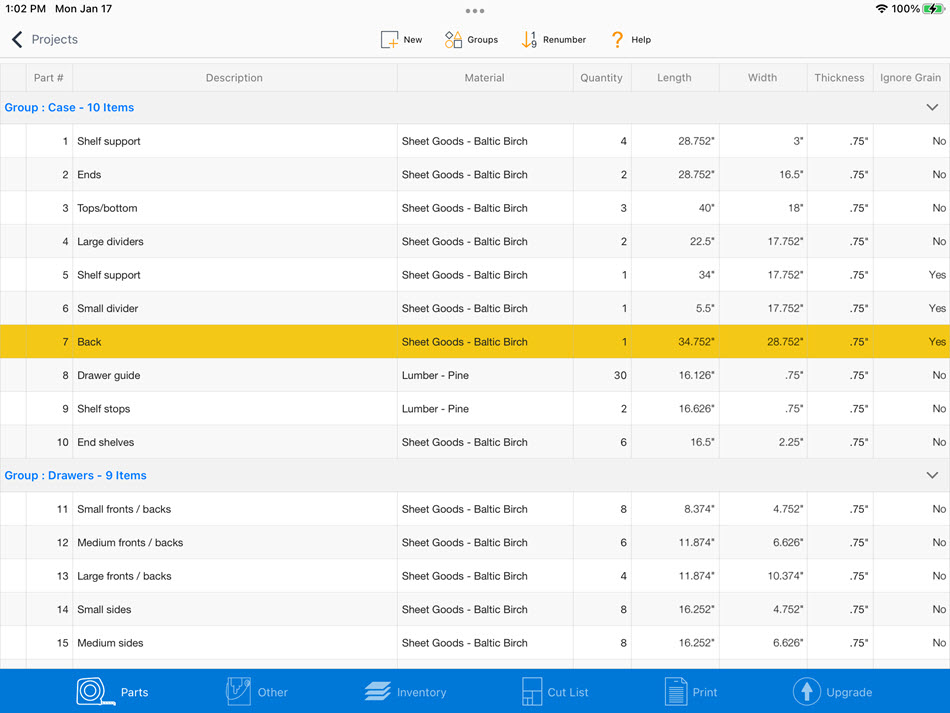
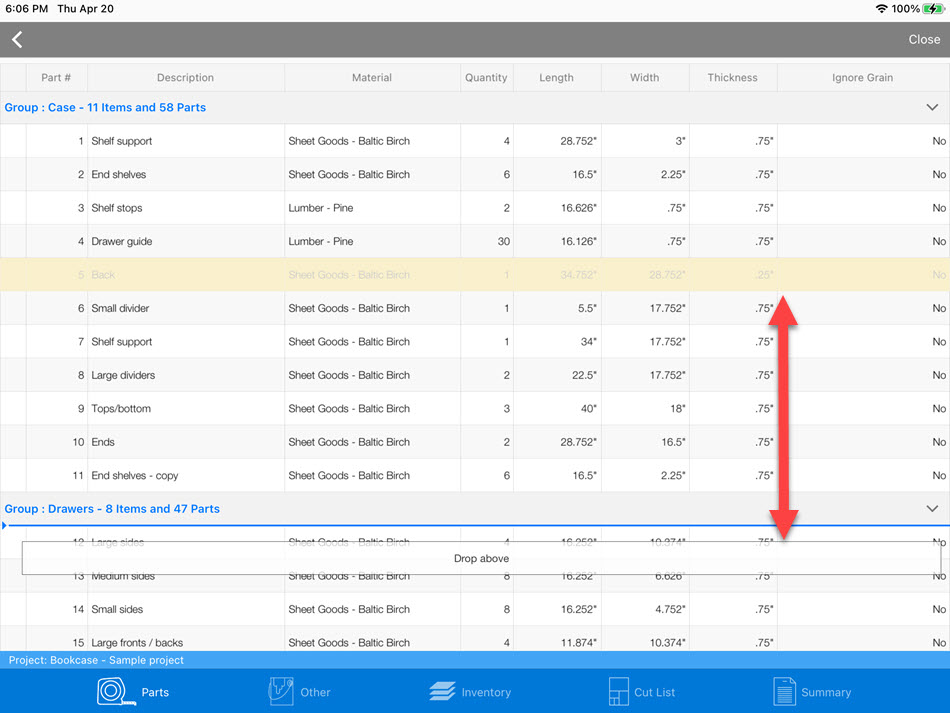
Assembly Groups allow you to organize your parts into groups, making it easier for you to visualize your project. Using the example above, we can create an assembly group for Frame, one for Drawers and a final one for Doors. When parts are added or modified, we can assign each piece to a group. Of the 76 parts used in the project, the Frame group would have 34 parts, Drawers having 18 parts, and Doors have 24 parts.
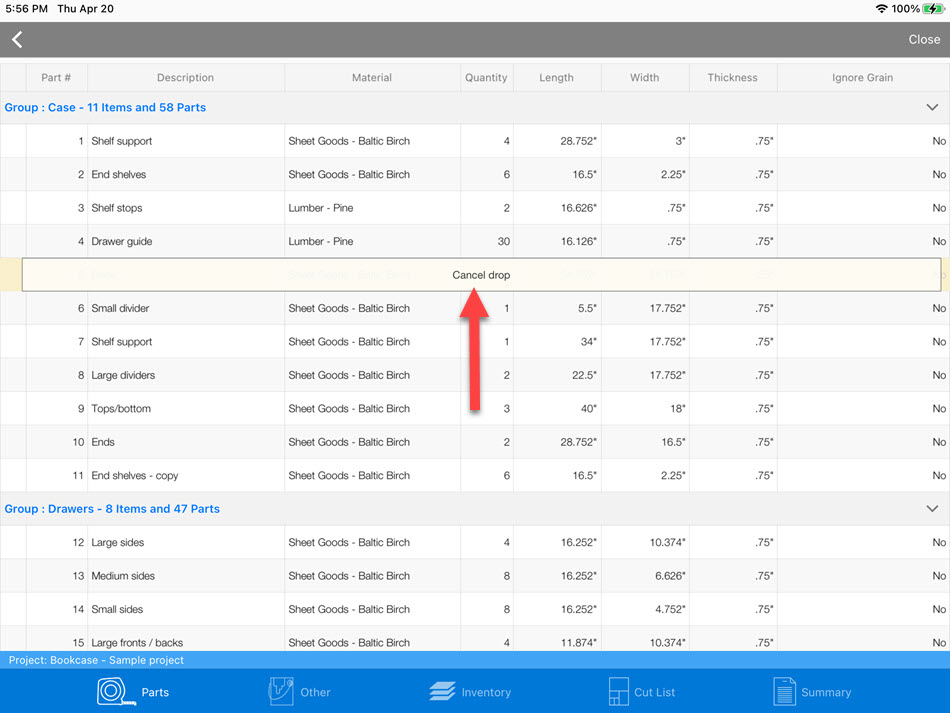
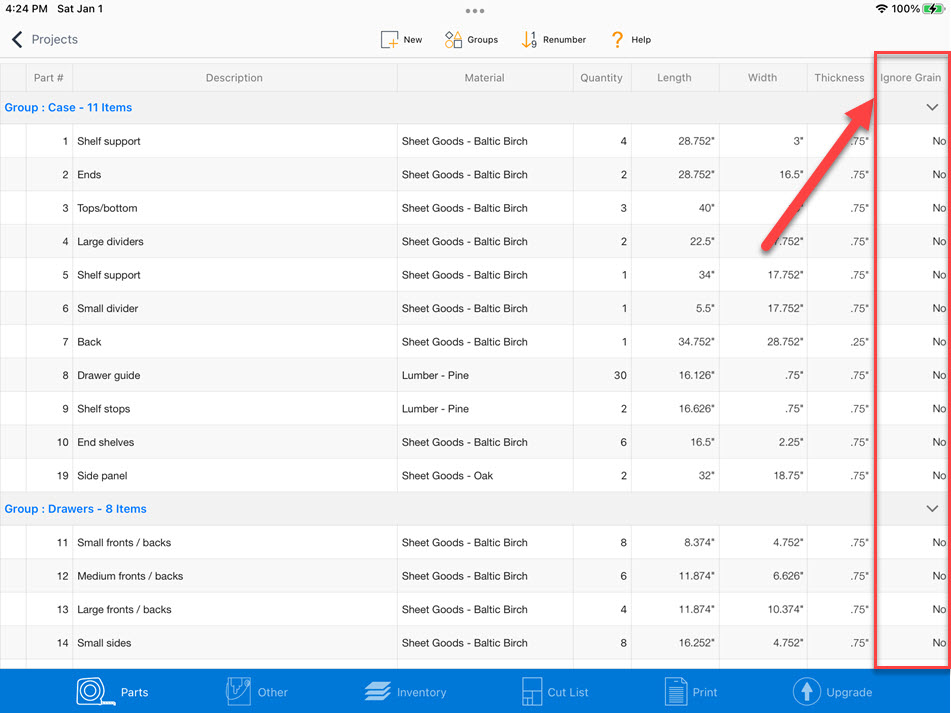
Assembly Groups are not only useful for the parts list. When you look at each of the cut lists, assembly groups will color-code each part, making it a breeze to see where the parts are used.
Create
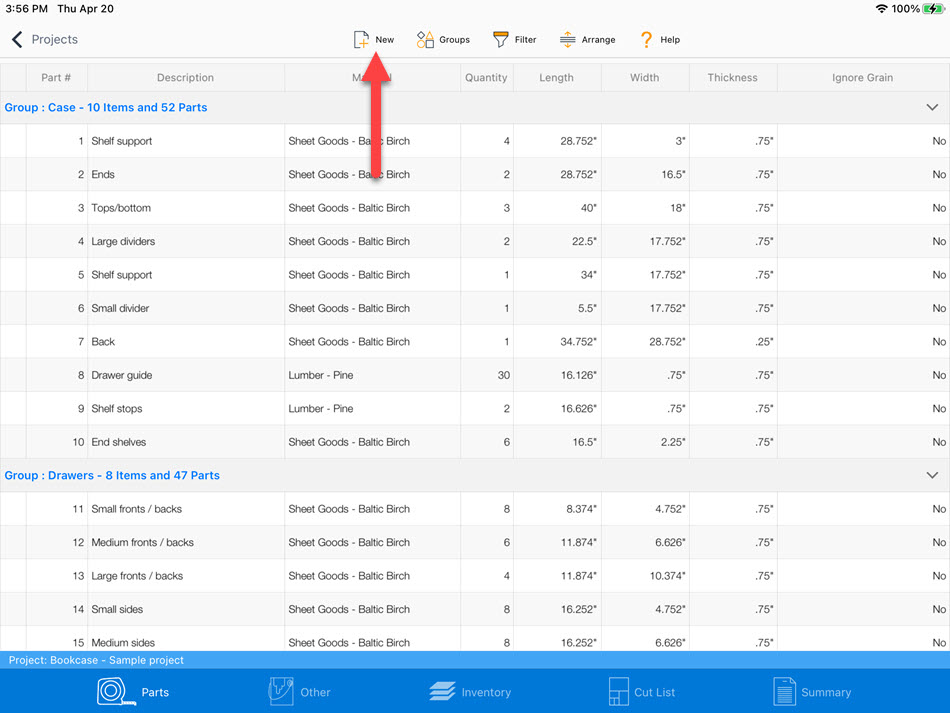
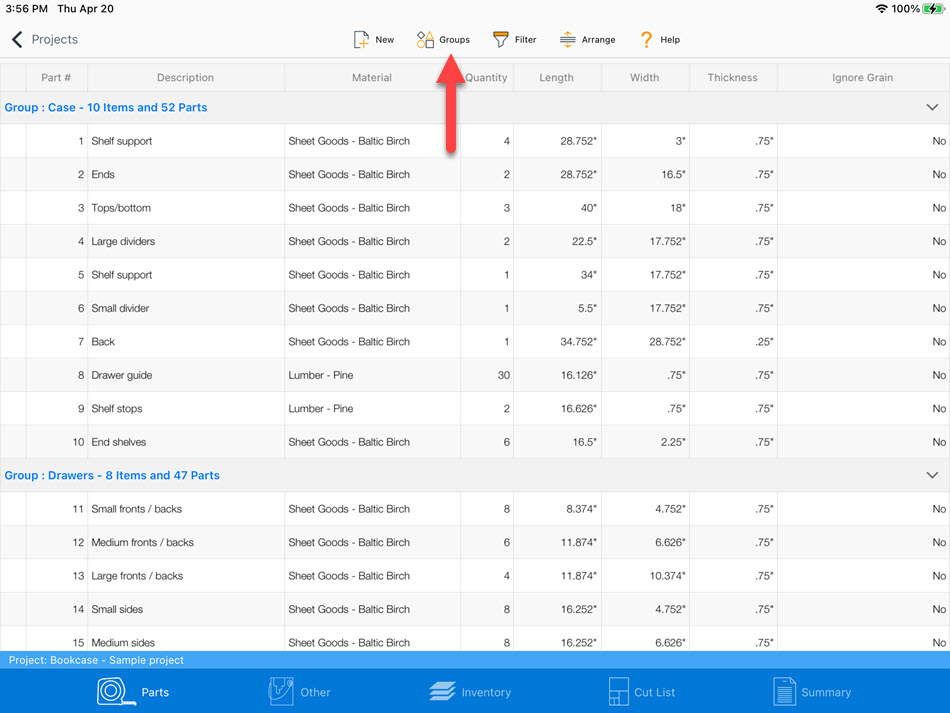
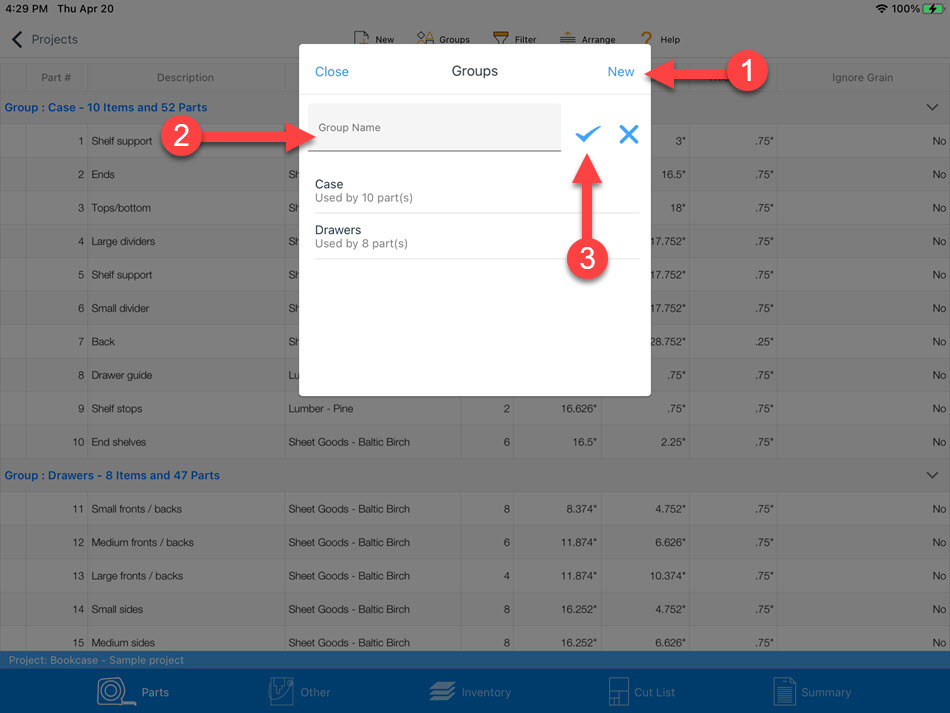
Tap on the Groups button
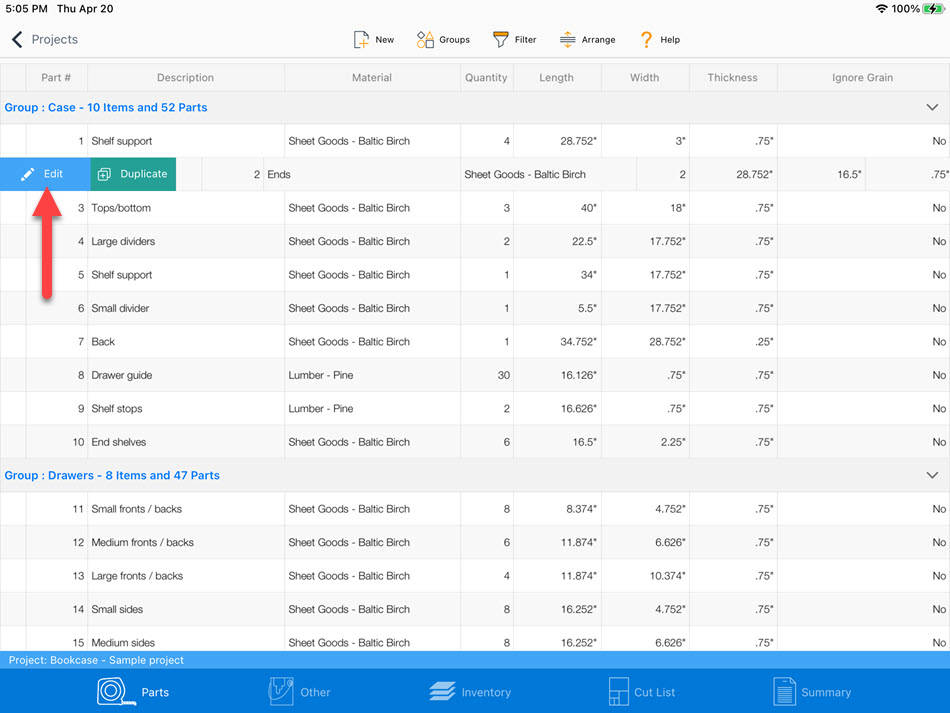
To add a new group:
- Tap the Add New Group button
- Enter the group name
- Tap on the checkmark button
If there are not any parts in an Assembly Group, the group will not be shown on the screen.
Collapsing Groups
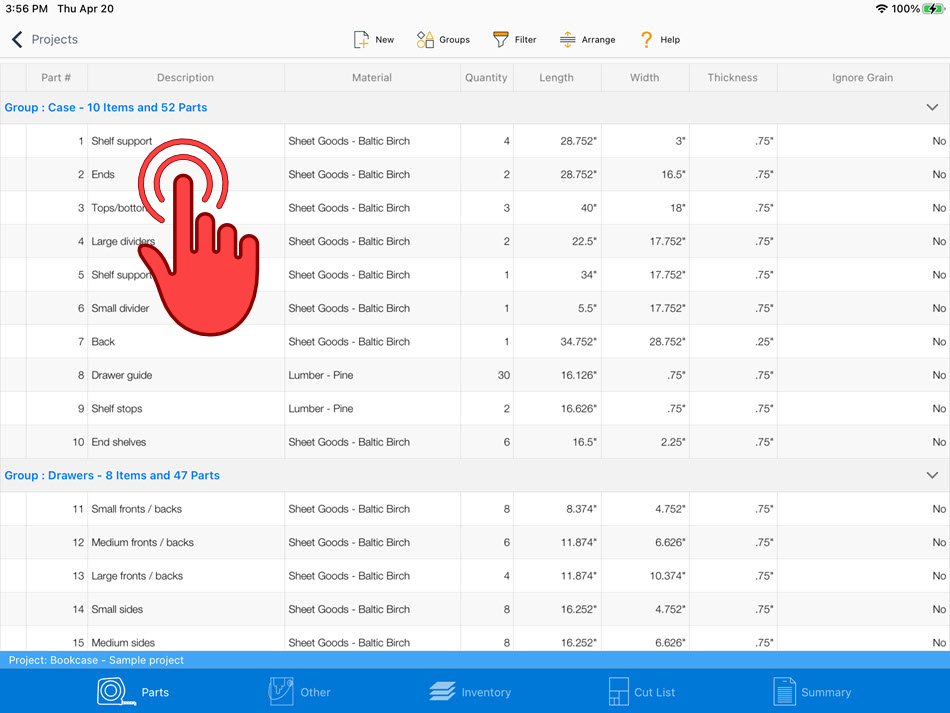
Tap on the arrow button
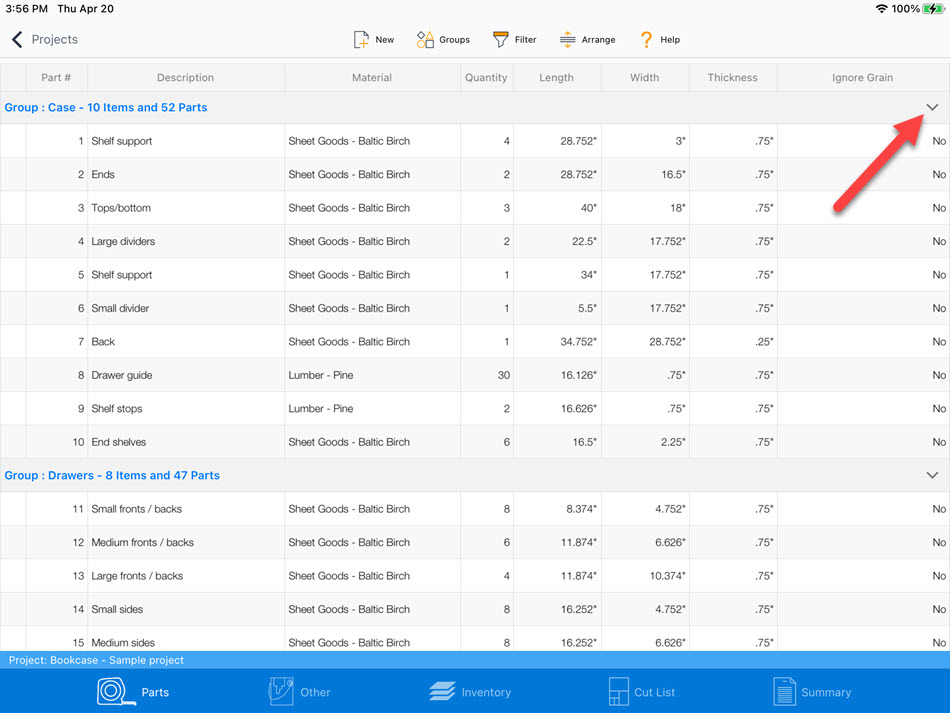
The contents of the group are now hidden. Tap on the arrow again to show the items

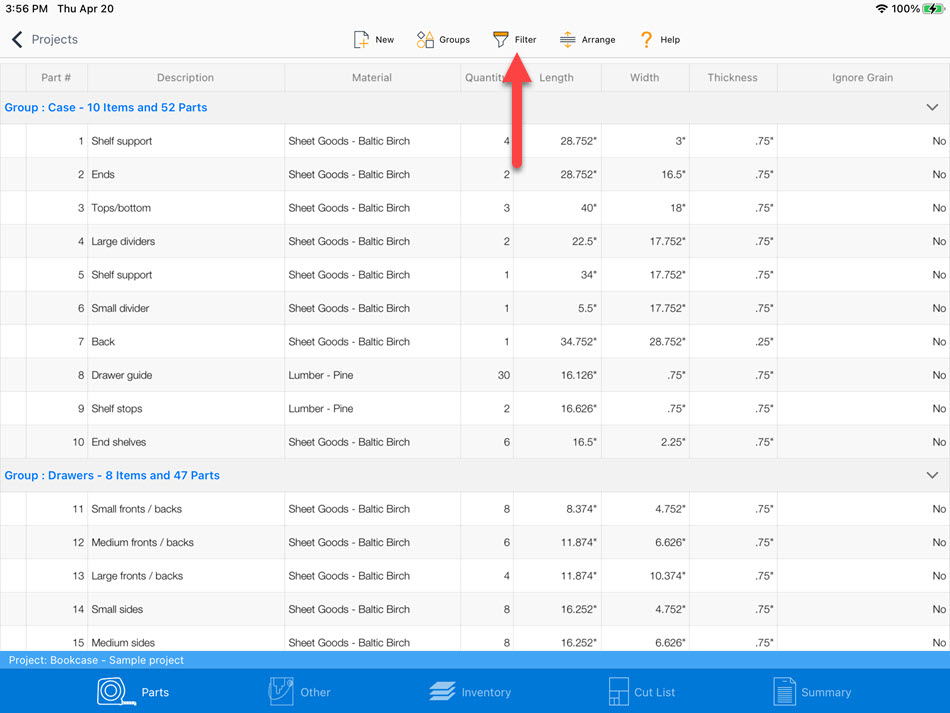
Filter Groups
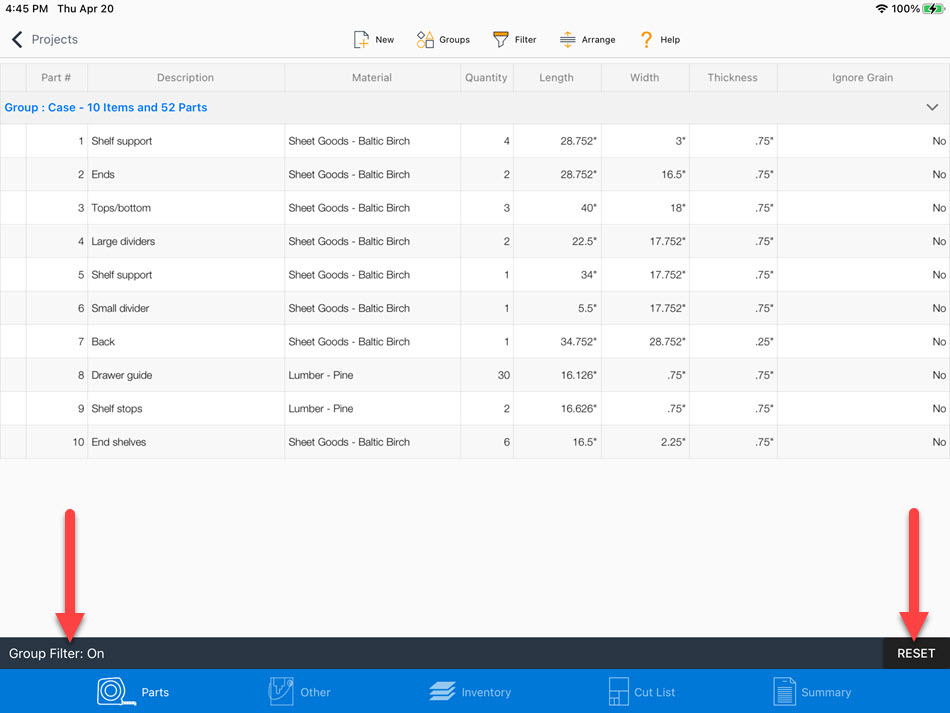
There are situations where you not only want to hide groups from the parts screen but also to be hidden when creating a cut list. To achieve this functionality, tap on the “Filter” button and select the groups to hide.
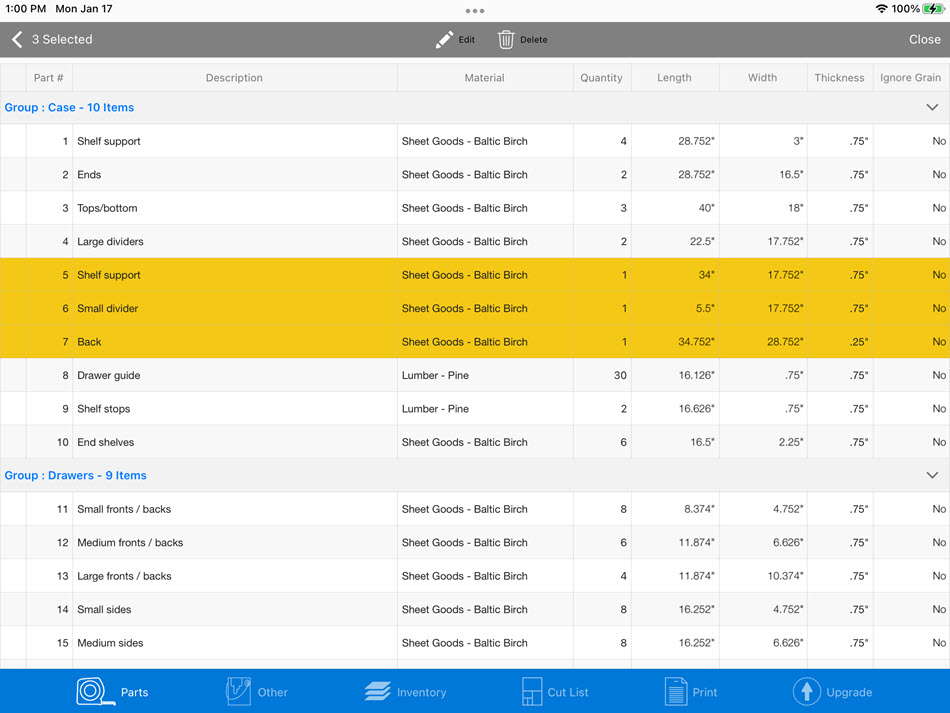
Select the group(s) to filter
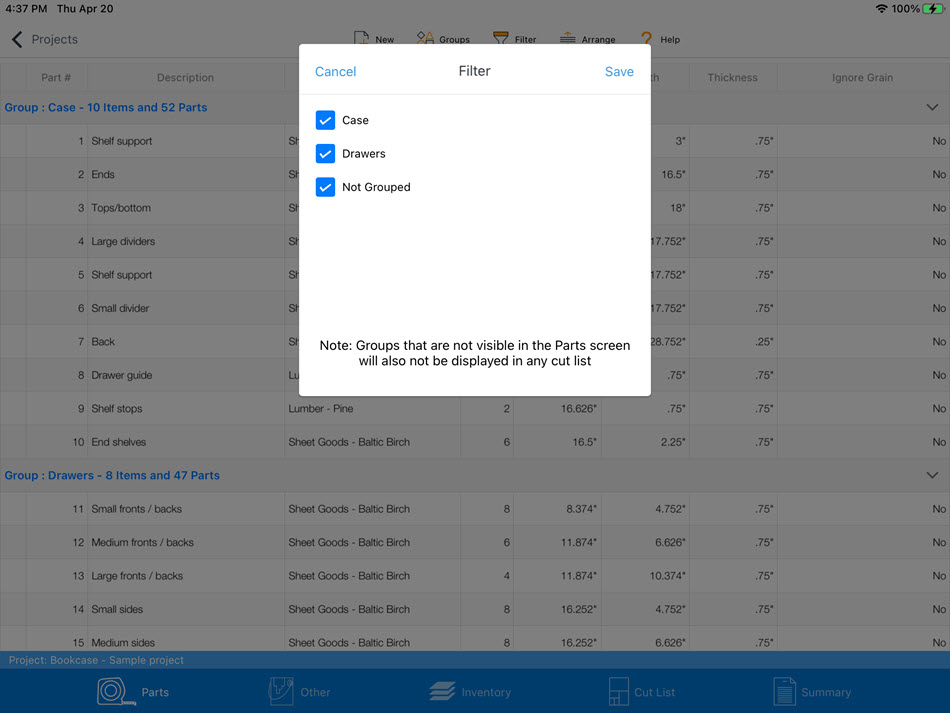
The contents of the group are now hidden. Tap on the arrow again to show the items