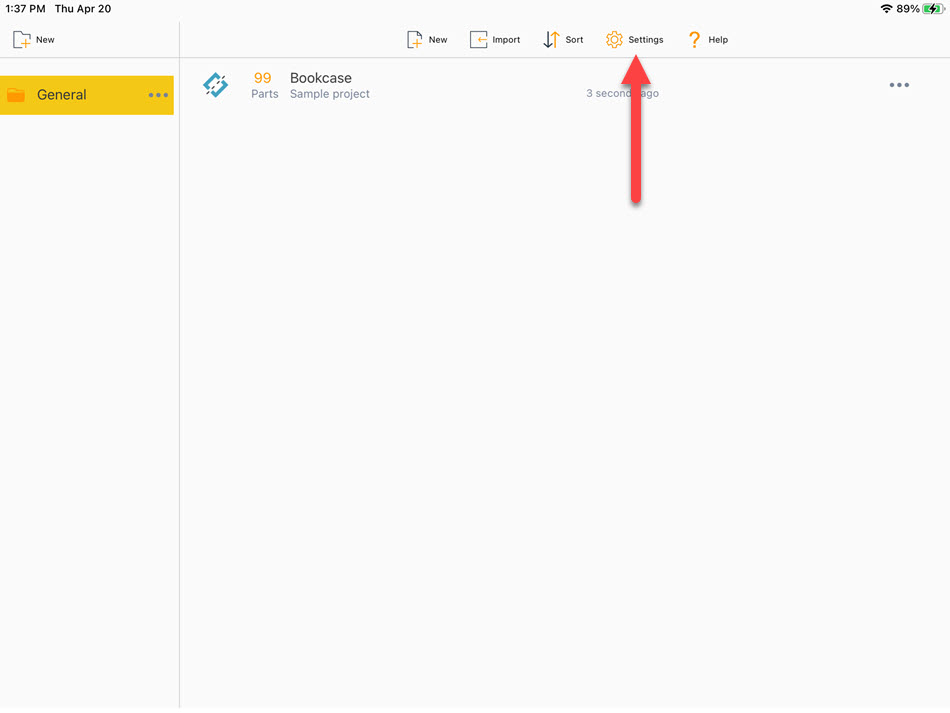
The settings popup allows you to configure how the application works. To access the Settings popup, navigate to the Projects screen and tap on the Gear button.
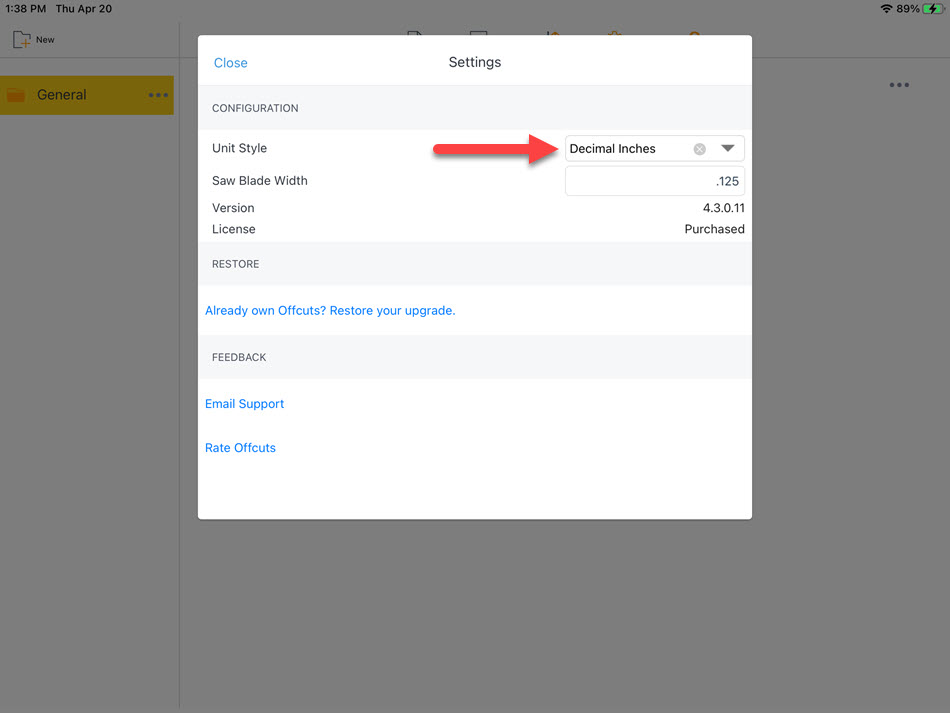
Setting the units
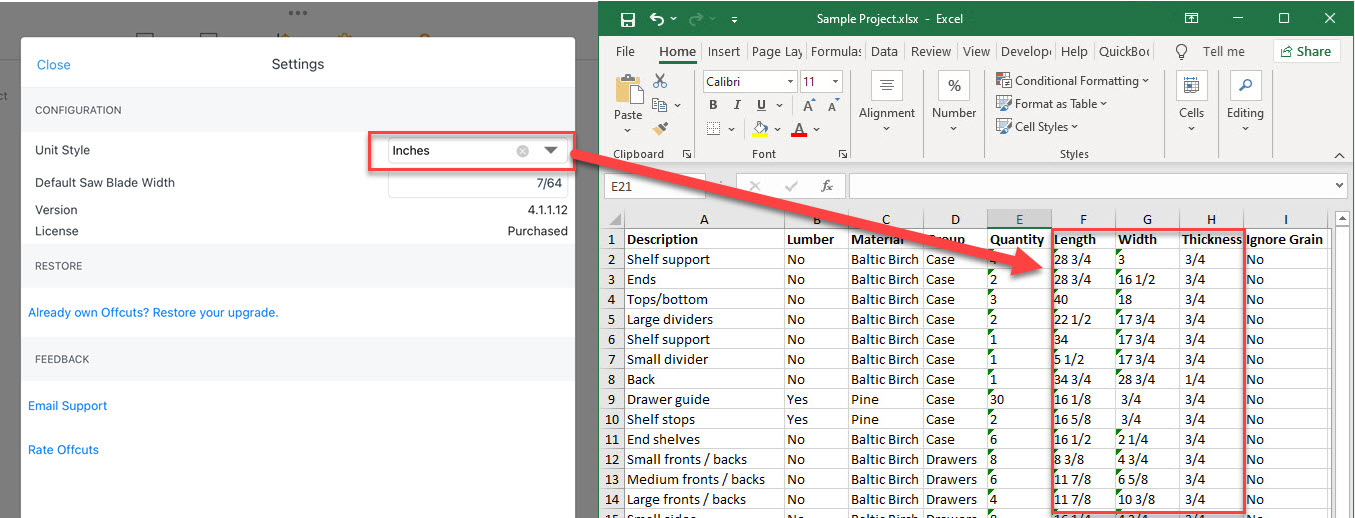
You can change the units that Offcuts uses at any time. Be aware however that moving from metric to imperial might introduce rounding errors if you switch back.
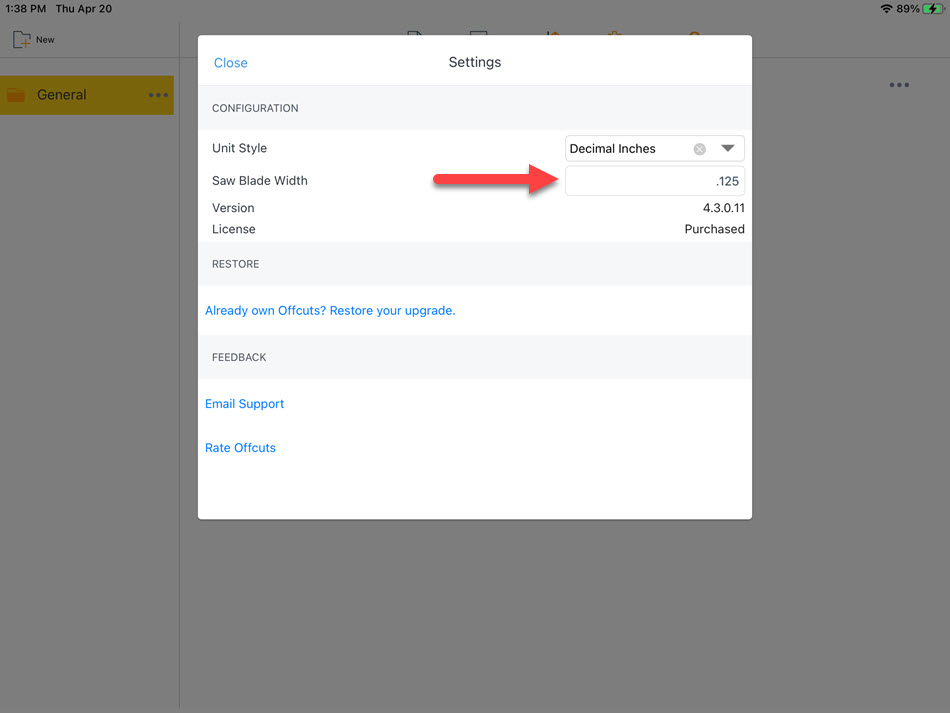
Setting the blade/kerf width
The blade/kerf is the width of your saw blade and is used when generating the cut list. While setting the width on this screen defines the dimension for all projects, there are instances where you may want control of this value on a project-by-project basis. To allow this, you can adjust the width of the cut list screen for a specific project.
Note
Blade width must be less than 1/2 an inch or 12mm
Project Management
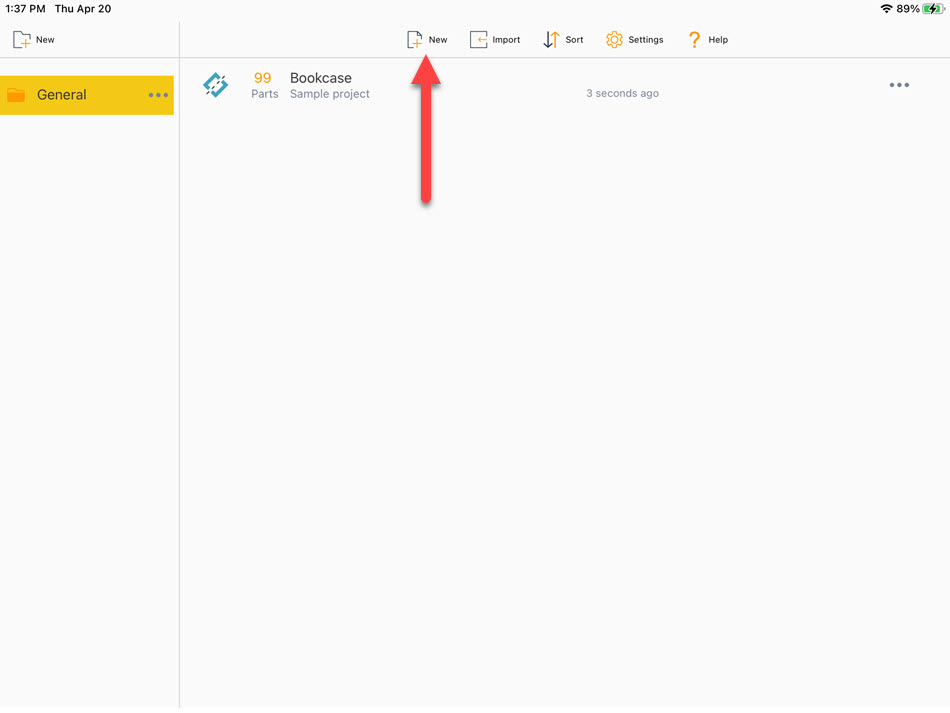
Creating a project
In Offcuts you’re not limited to a single project. To create a project, tap on the “New” button and enter the project name and optional description.
Note
The project name must be unique
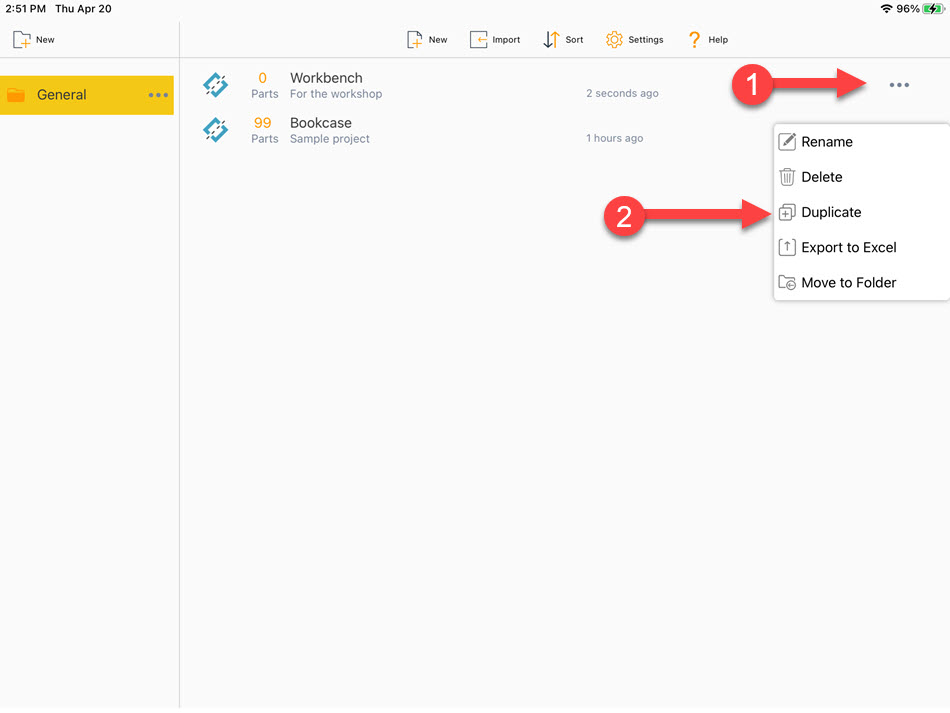
Copy/duplicate a project
Tap on the ellipse(three dots) button next to the project you want to copy and select Duplicate
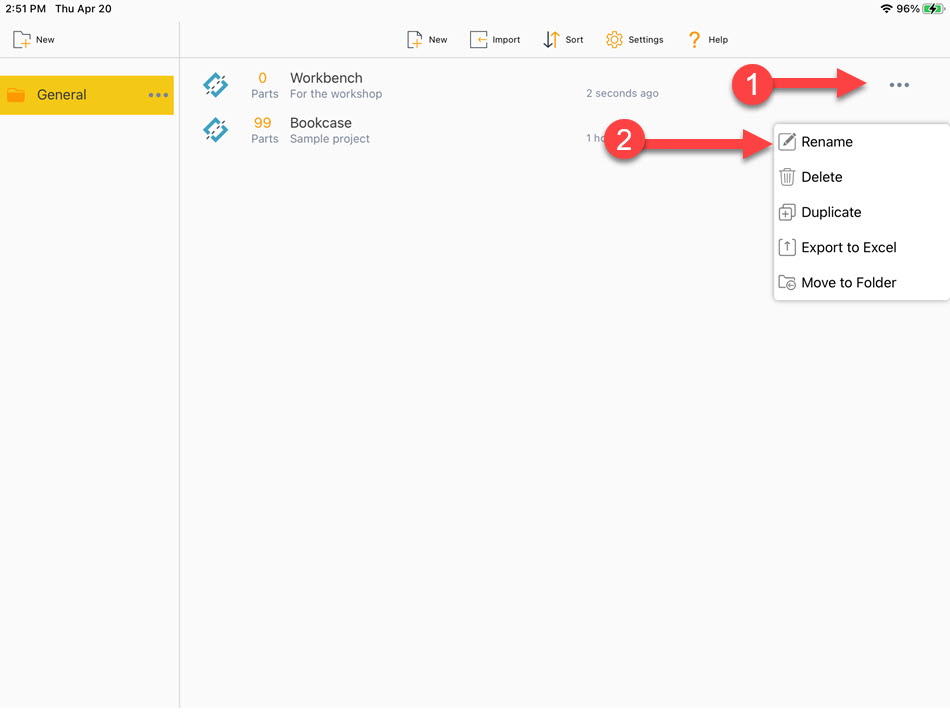
Renaming a project
Tap on the ellipse(three dots) button next to the project you want to rename
Note
The project name must be unique
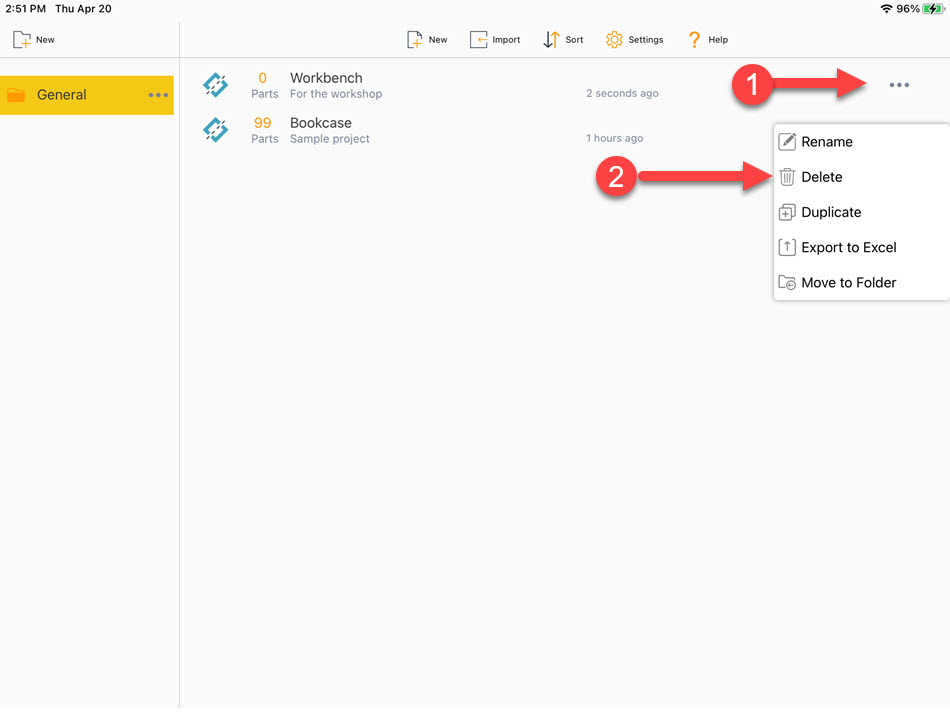
Delete a project
Tap on the more (three dots) button next to the project you want to delete and select Delete
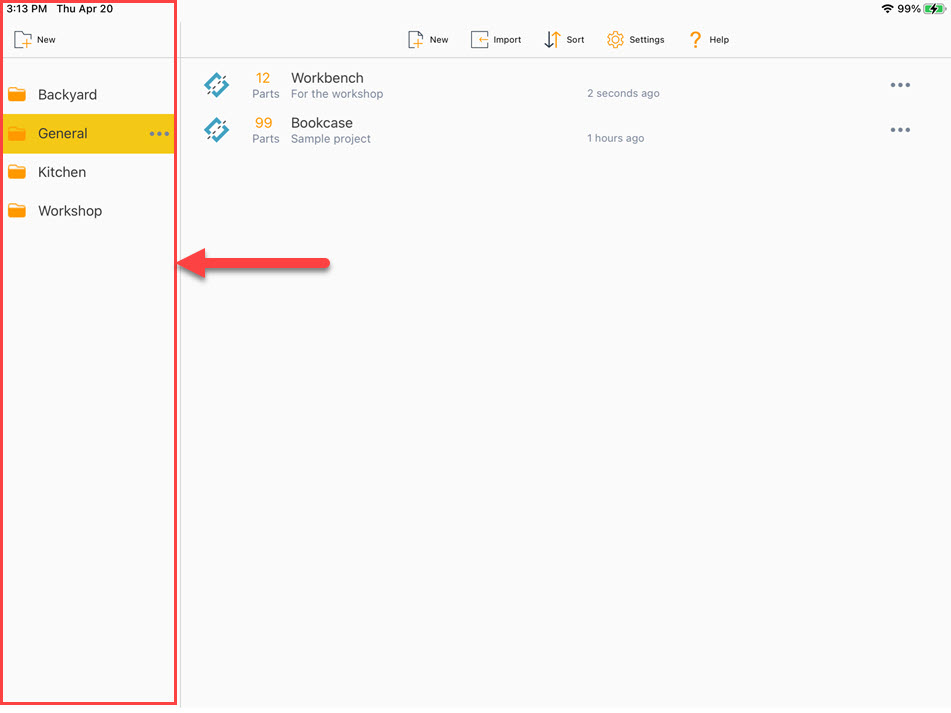
Project Folders
Overview
Like saving files on your computer, you can organize your projects in folders, where each folder can contain several projects.
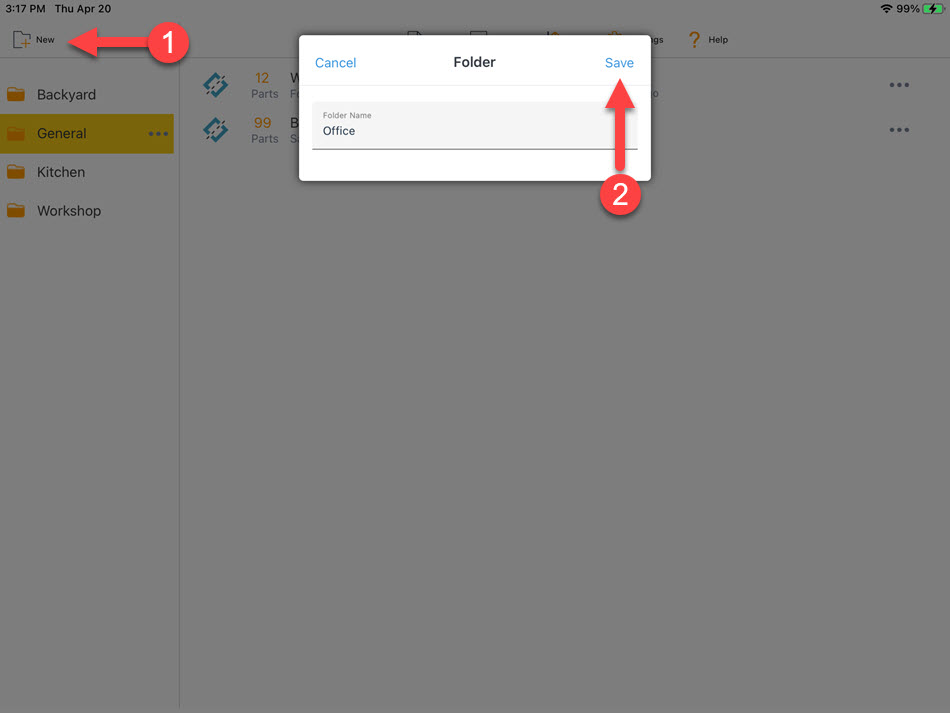
Creating a folder
Tap on the "New" button and enter the folder name
Note
The folder name must be unique
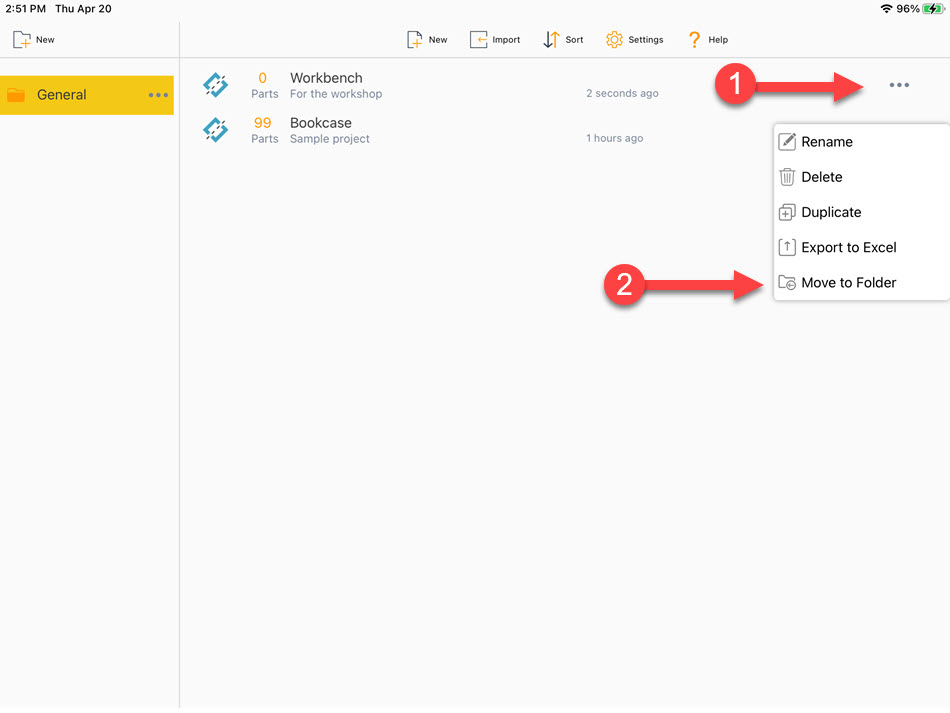
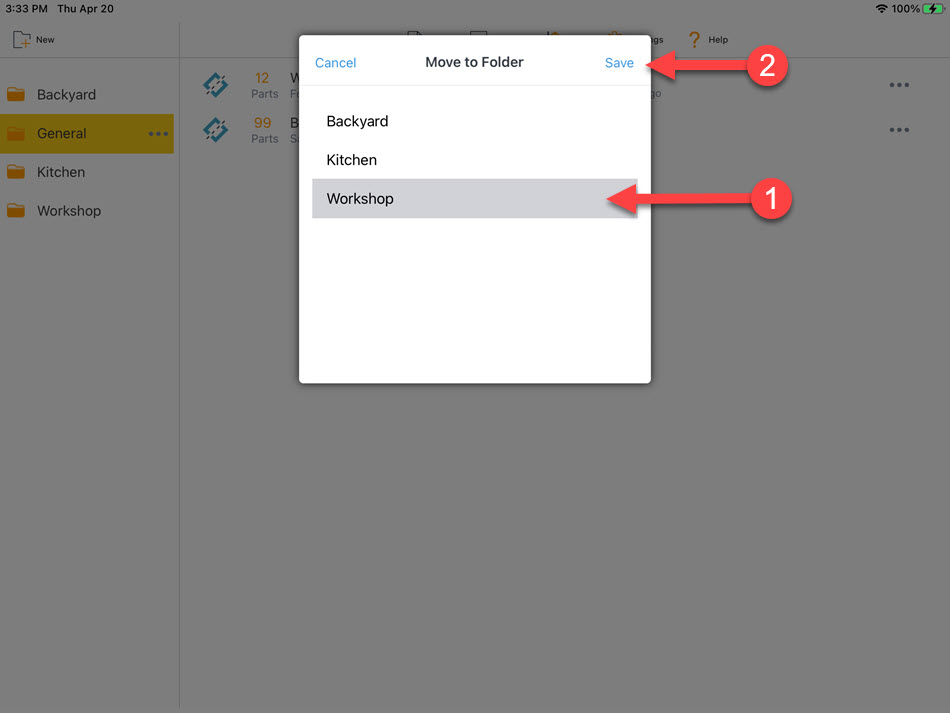
Moving a Project to a Folder
Tap on the more (three dots) button to the right of the project name and select "Move to Folder"
Select the project and tap on “Save”
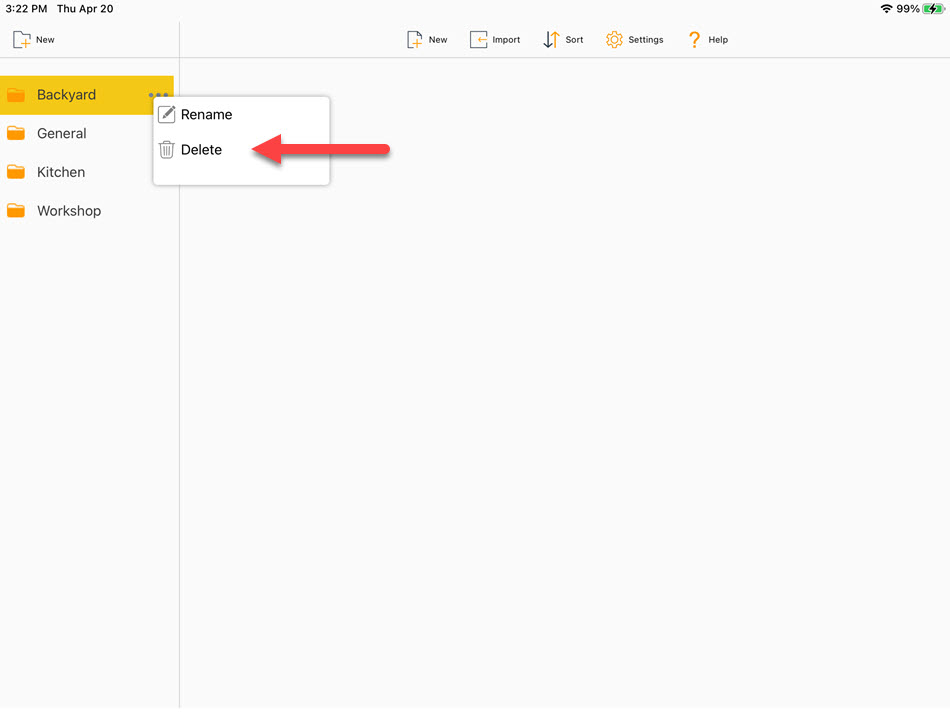
Renaming a folder
Tap on the ellipse(three dots) button next to the folder you want to rename and enter the new folder name.
Note
The project name must be unique
Delete a project
Tap on the more (three dots) button next to the project you want to delete and select Delete
Importing from Excel
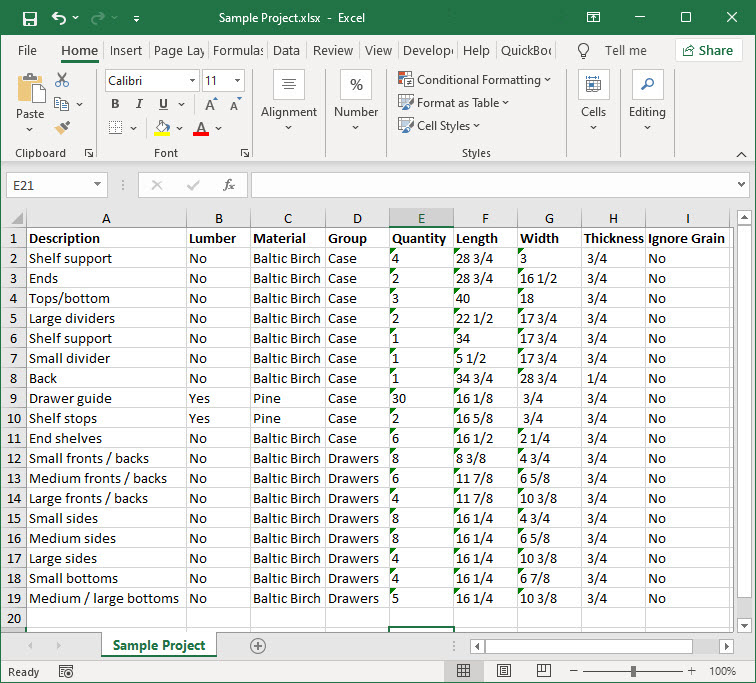
The Excel file must be in a specific format to be imported. The column names and order must be as shown below. If it's not, you'll get an error message
Offcuts can create this file for you by opening an existing project and click on the "Export to Excel" button.
The values for length, width and height must match the settings. If the settings of Offcuts are for decimal inches, the values inside the Excel file must also be in decimal inches.
Importing
Tap the Import button
Select the Excel file to import
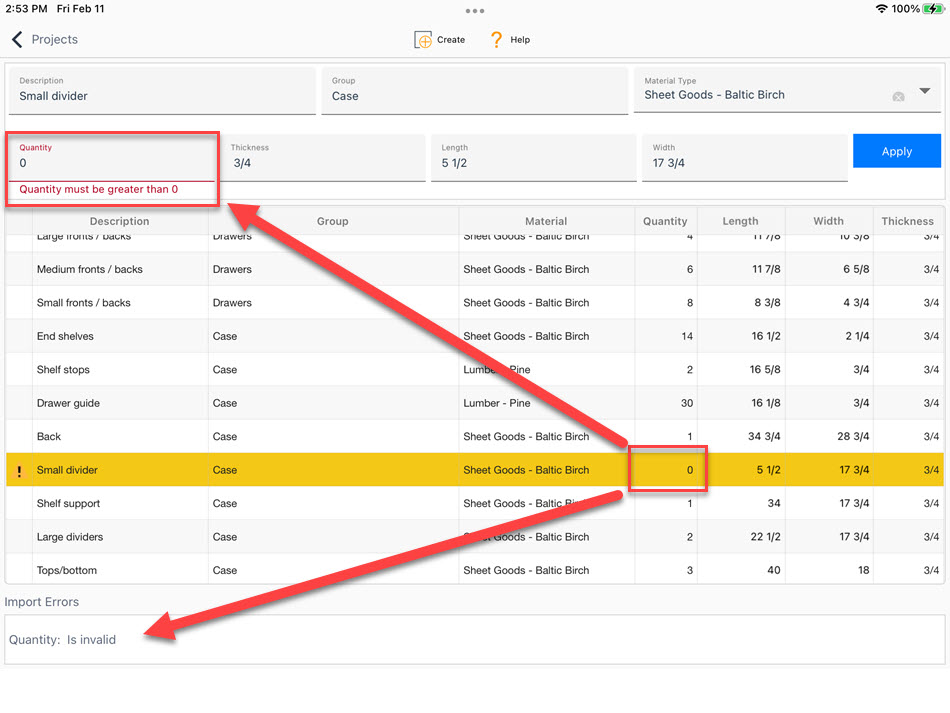
Validation
The validation dialog allows you to correct any issues that need to be fixed before the file can be imported into Offcuts.
To find any problems, look for a warning icon in the left-most column.
Required:
Description is required
Group can be blank
The material type must contain material that's contained in the inventory database
Quantity must be greater than zero
Length, width and Thickness must be valid numbers, and format must match Offcut's current settings. Don't include units like cm, mm or " with the value
The validation dialog only performs a preliminary validation on the file, in short, making sure the values are valid. Once imported, the parts screen will indicate if any part doesn't fit within the selected material.
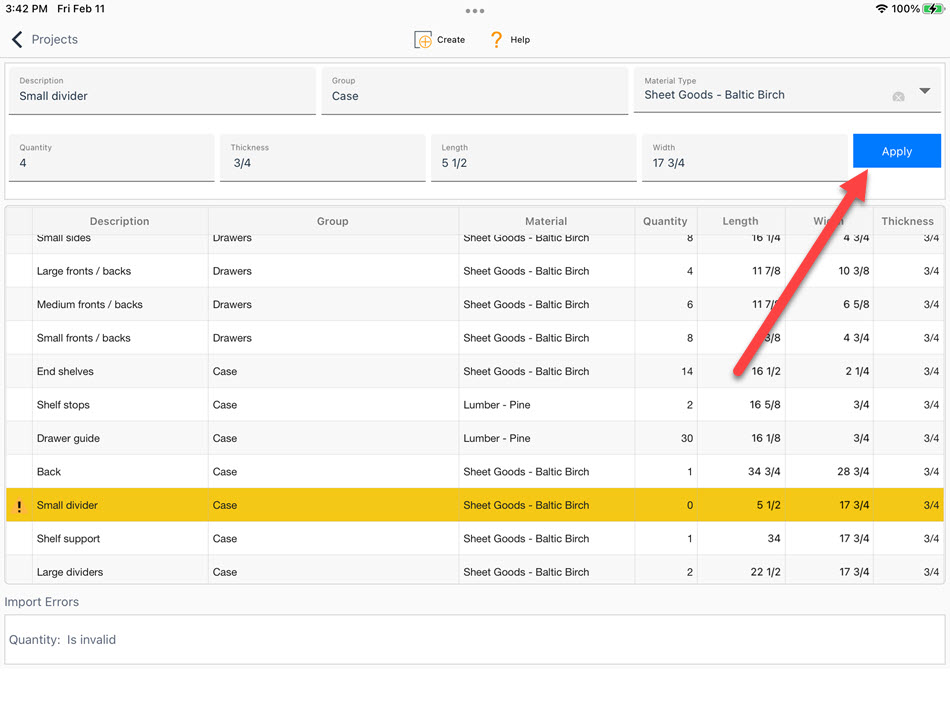
Editing
To modify the imported data or to fix errors, just tap on a row in the grid. Once tapped, an editor will be displayed, allowing you to change any value. When you're done, just tap on the Apply button.
Note, when you press Apply, the editor doesn't disappear; it will just update the grid - if there are no errors. To modify another part, just tap on another row.
To import the file into Offcuts, tap on the Create button.
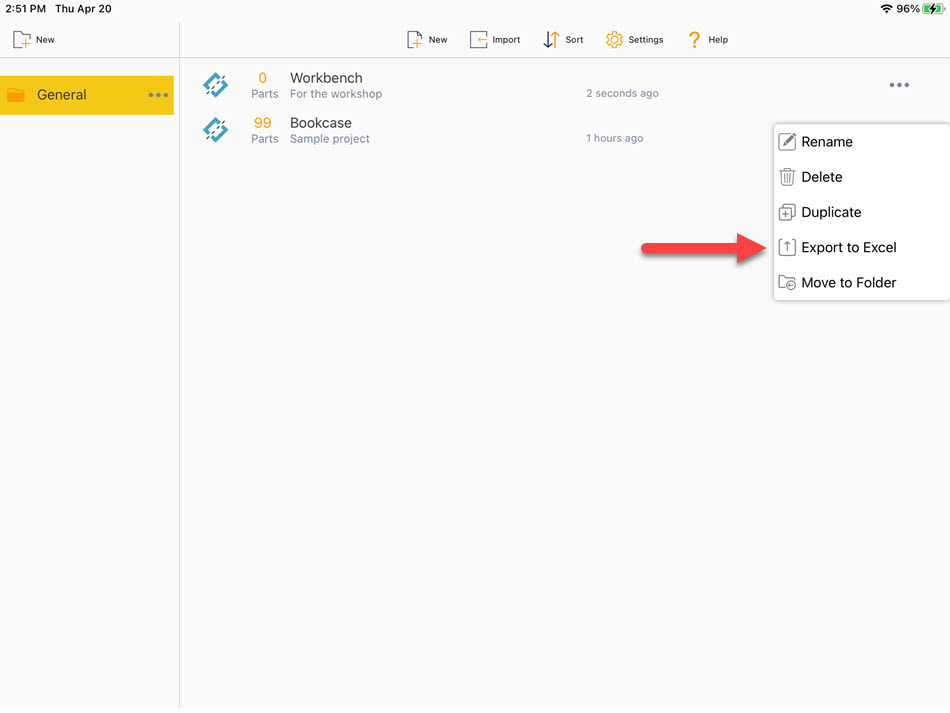
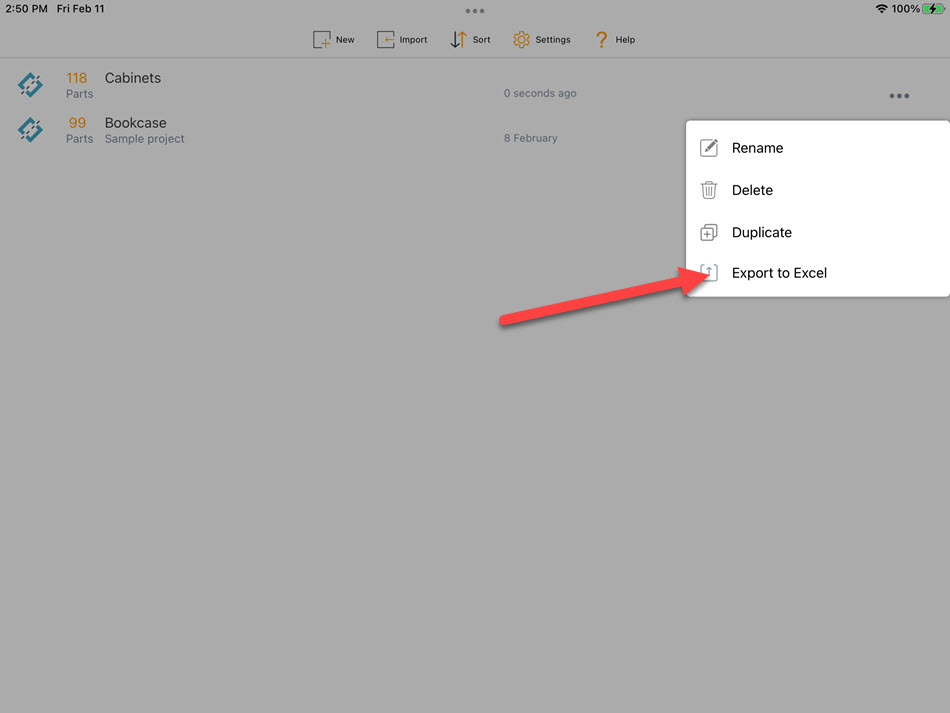
Export to Excel
Exporting a Project File
Tap on the ellipse(three dots) button next to the project you want to export and select Export to Excel.